How to update Gateway firmware manually
Prerequisite: Gateway Firmware Image file downloaded from Insight Webportal to your desktop.
- Connect your Gateway to your desktop via USB cable.
The Gateway boots up in about one minute and LED 1 (USB) glows green. - Scan the Pairing Barcode on your Gateway with your scanner.
Your scanner connects to the Gateway and the LED 2 (Scanner) glows green. - Scan the barcode below to enable the Gateway as a Mass Storage Device.

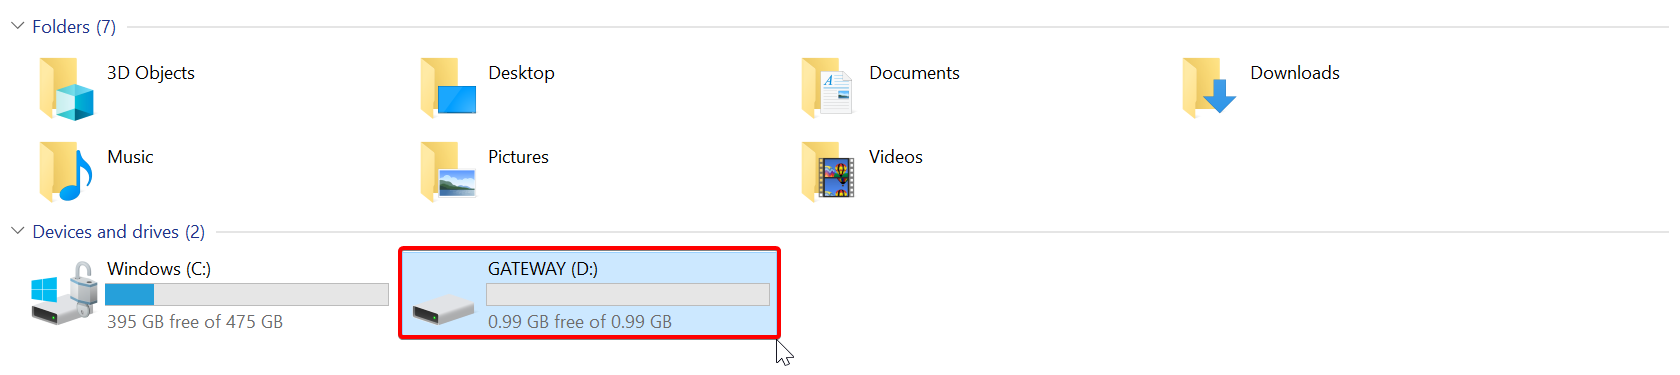
The Gateway displays as a Mass Storage Device on your desktop.
- Copy the Gateway Firmware Image file to the Gateway Mass Storage Device.
- Eject the Gateway Mass Storage Device.
LEDs flash green and purple while the new version installs. The Gateway restarts and glows green when done.
Note: Do not disconnect the Gateway cable from desktop during the update. The configuration update takes a couple of minutes.
Note: During the reboot, the Gateway might not display any LED feedback for a few seconds.
Limitations
Due to difference in firmware versions, some directories and files are not handled the same. Sometimes, this can lead to issues when updating Gateway firmware from v1.0.0 to v1.3.0 or higher.
In case of issues with updating from v1.0.0 to a later version follow these steps:
- Connect your Gateway to your desktop via USB cable.
- Scan the Pairing Barcode on your Gateway with your scanner.
- Scan the barcode below to enable the Gateway as a Mass Storage Device.
- On the Gateway Mass Storage Device, delete all folders except the Status folder.
- Eject the Mass Storage Device.